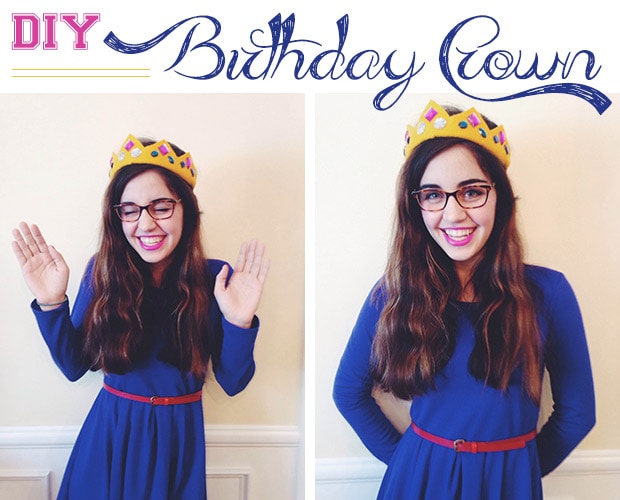
Everyone has a favorite holiday, and mine is my birthday. While this might seem a bit self-centered (sorry not sorry), the real reason why I love my birthday so much is that it gives me an excuse to get all of my favorite people from all of the different parts of my life under one roof to celebrate. With the demanding schedules that my friends at school have, it gets difficult to plan fun social events that everyone can take part in. I find that if I don’t share a class or extracurricular with a friend, it’s sometimes hard to keep in touch.
That’s why birthdays are so fun. Since they only happen once a year, they’re special enough that friends from all different groups get together to have a good time.
Since I have a very special birthday coming up (21!!) I thought I’d create a cute and quick DIY crown I can wear while I celebrate. (Need an idea for what to do on your special day? See our list of 21st birthday ideas for inspo!)
Make one for the birthday girl (be it a friend or yourself!) on her special day. Read on to learn how to create this fun and festive headwear.
Table of Contents
Materials:
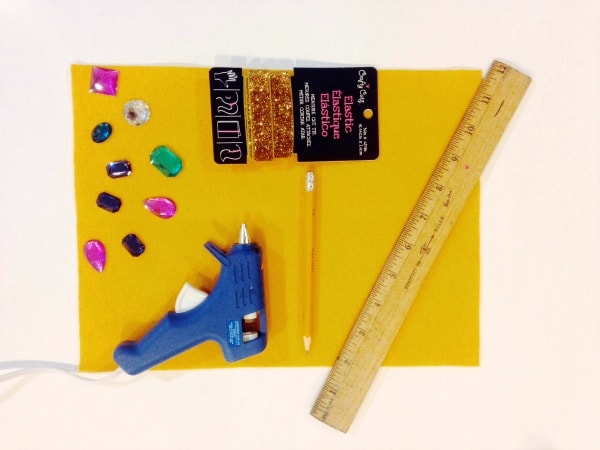
- Hot Glue Gun
- Yellow Felt
- Glitter Elastic
- Pencil
- Ruler
- Scissors
- Acrylic Gems
How-to:
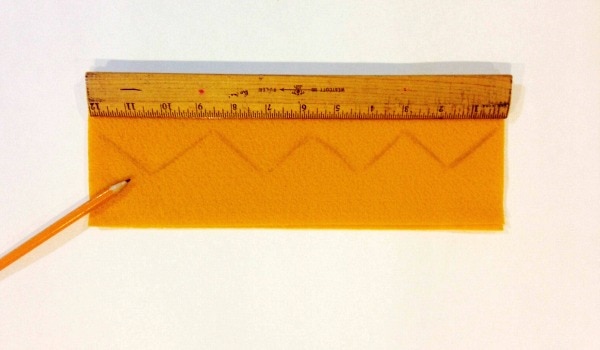
Fold the felt in half, then use the width of the ruler as a guide draw on a zigzag pattern. This will create the points for the crown, so try to make the pattern as even as possible.
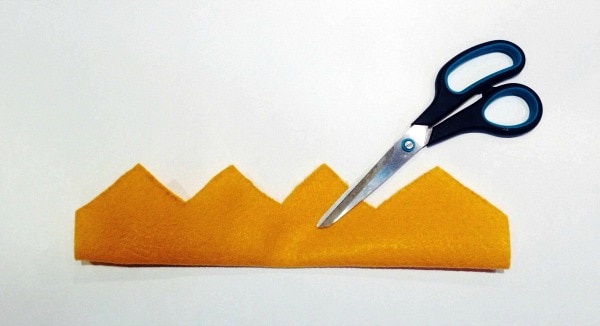
Use your scissors to cut out the pattern. Make sure the felt remains folded so you cut both sides.
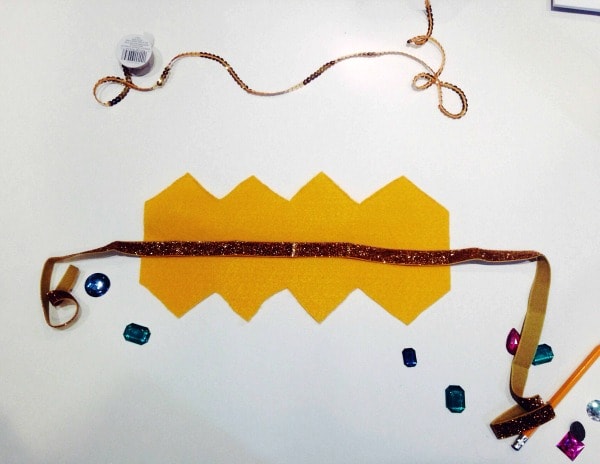
Open up your zigzag shape, then lay the elastic strip down the middle.
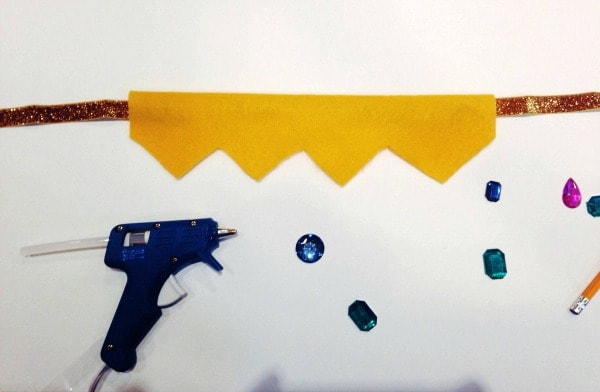
Keep the elastic in place and fold over your shape (along the original fold). Use the hot glue gun to glue the pointed edges shut.
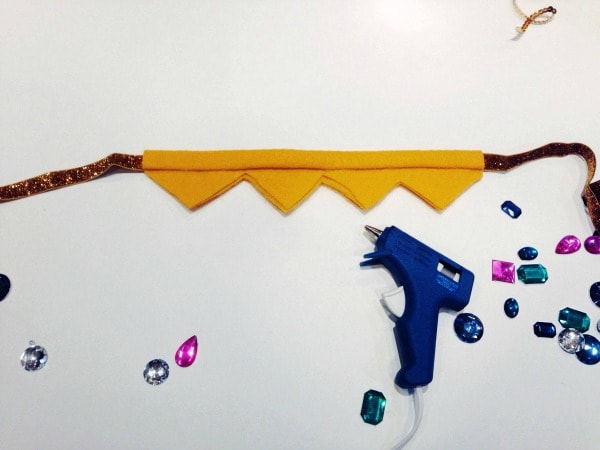
Fold over the bottom edge of your crown (with the elastic inside), then glue one more time.
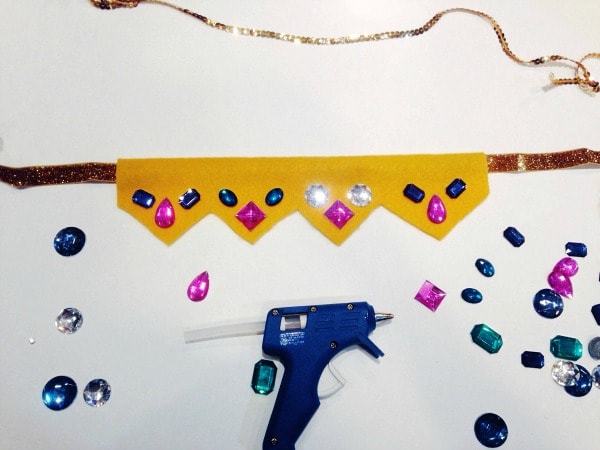
Decorate your crown with gems, then glue them on. Wait for the glue to try fully. After that, simply tie the elastic to fit it to your head, and you’re all set!
The Finished Crown:

This quick headband-crown will make any birthday girl feel like royalty. I think it’s a cute and kitschy addition to any birthday celebration. I plan on wearing mine when I am served my first classy cocktail 🙂
What do you think?
Will you be trying out this tutorial? Is your (or a BFF’s) birthday coming up? What are you doing to celebrate? Let me know in the comments!

Oooh, I love this! My birthday was month ago, next year, though! Happy birthday!
My birthday just passed two weeks ago! I might make myself a crown anyway. Happy 21st!